Submitting Final Grades - Preparing Final Grades in OnQ
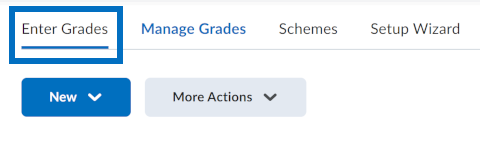
- Go to the Enter Grades page in OnQ.
- Log into OnQ and go into your course space.
- Select .

- Select .
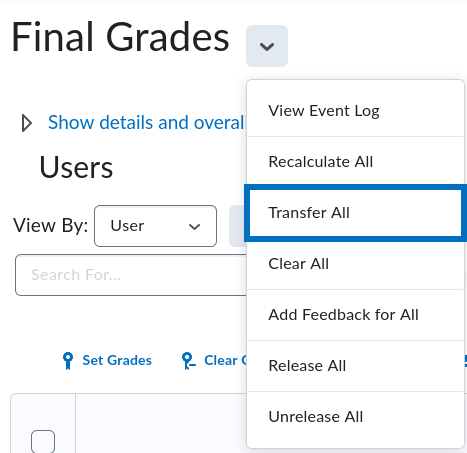
- Populate the Final Adjusted Grade column with Final Calculated Grade values.
- Scroll to the second-last column and select .
- takes you to the same page, so use whichever you prefer.
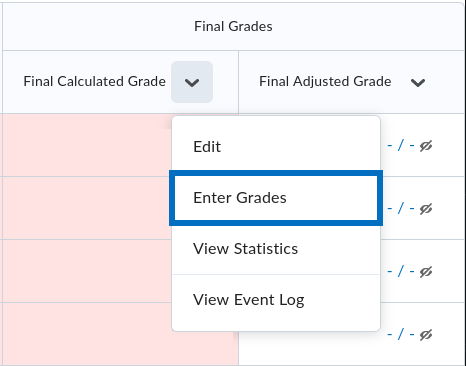
- Select .
- Edit the Final Adjusted Grade values.
- Make changes for specific students (e.g., different marking scheme due to academic consideration).
- Round the Final Adjusted Grade values because PeopleSoft truncates/floors any decimal values it receives.
- For example, sending 79.9 from OnQ will put 79 in PeopleSoft.
- There is no automatic grade rounding, so this must be done manually.
- Do not attempt to enter IN or similar; this will be done later in PeopleSoft.
- Do Save your changes on each page before moving to the next.
- The buttons are at the end of the page.

