Submitting Final Grades - Finalizing Grades in PeopleSoft
- Go to your My Schedule page.
- Click the compass icon in the top navigation area.

- The should appear. If the menu options aren't shown, click
- Select .
- Your courses this term should be listed.
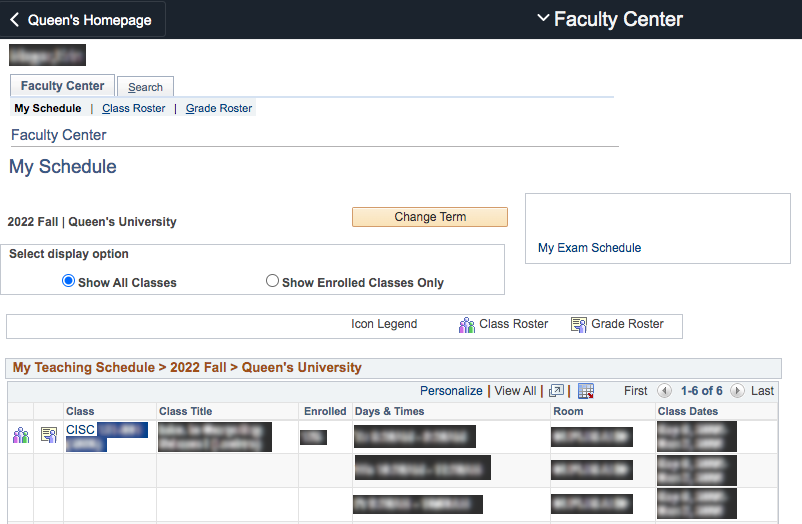
- If the term is incorrect, click the Change Term button and select the correct one.

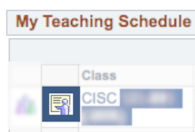
- Go to the Grade Roster page for your course.
- Click the person-pointing-at-a-chalkboard icon beside the relevant course.
- The students and their grades should now be visible.
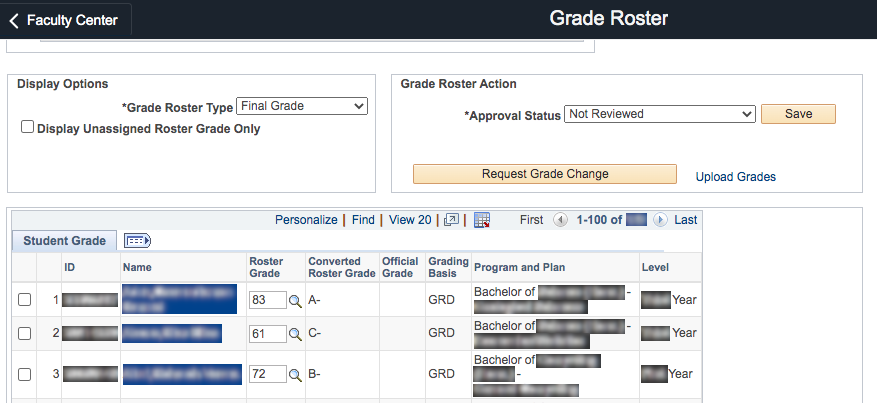
- Ensure that all students have a numeric grade.
- Check the Display Unassigned Roster Grade Only box to display students who don't have a final grade.
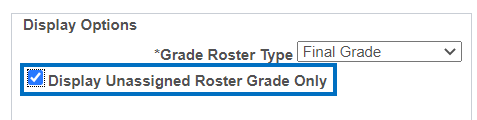
- No students should be listed, but if they are, enter a grade for them (even if it's 0).
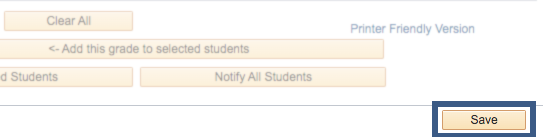
- Click the Save button at the bottom of the page to record the changes.
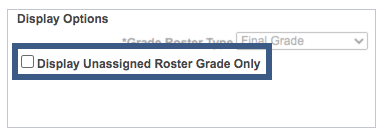
- Uncheck the Display Unassigned Roster Grade Only box to restore the list of all students.
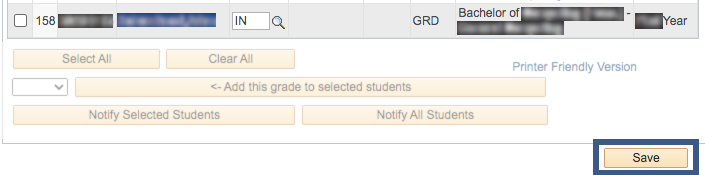
- Assign non-numeric grades (e.g., IN).
- Click View 100 to see more students in the list.
- Note: this section needs a screenshot. If you're able to, please take one and send it to Sarah.
- More students will be listed in alphabetical order by last name. The option to return to a smaller view is also available.

- Find the first student and:
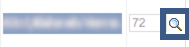
- type in the two-character code for the non-numeric grade (if you remember it), or
- click the magnifying glass icon beside their current numeric grade.
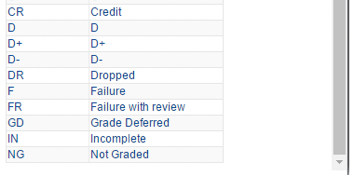
- The Look Up Roster Grade dialog will appear with numeric grades at the top; scroll down to the bottom.
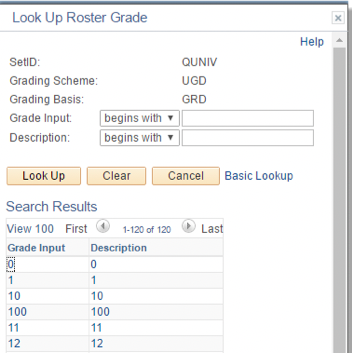
- Click the non-numeric option that applies.
- Once all the changes are in place for these students, click the Save button at the end of the page.
- Move to the next set by clicking the > button at the top of the list and repeat.

- Flag the grades for departmental review.
- Under Grade Roster Action, click the dropdown menu and select .
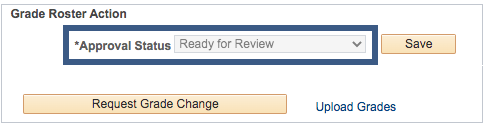
- Click the Save button.
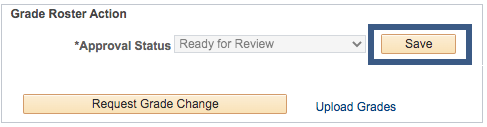
- The grades are now set and the Roster Grade column is no longer be editable.
- Congratulations, you're done! You can email Karen to let her know the grades are ready.
- Once the grades are approved by the Department Head, you can make them visible for the students.
- Log into OnQ and go into your course space.
- Select .
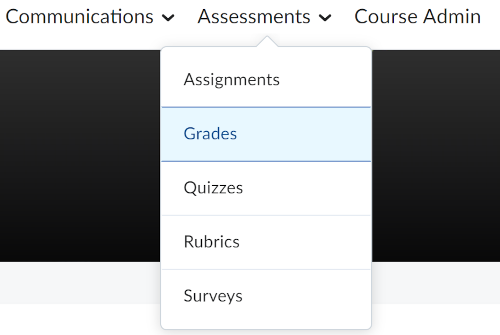
- Select .
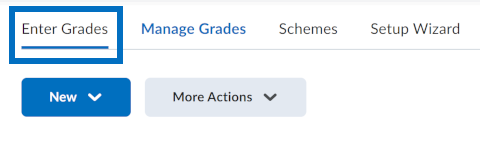
- Scroll to the second-last column and select .
- takes you to the same page, so use whichever you prefer.
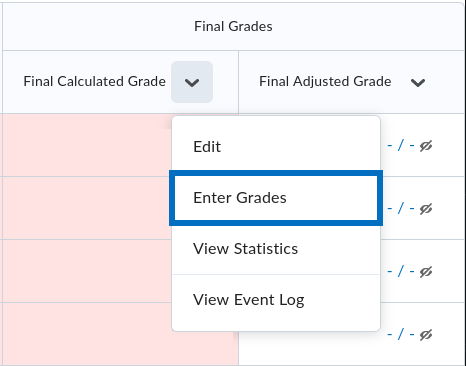
- Select .
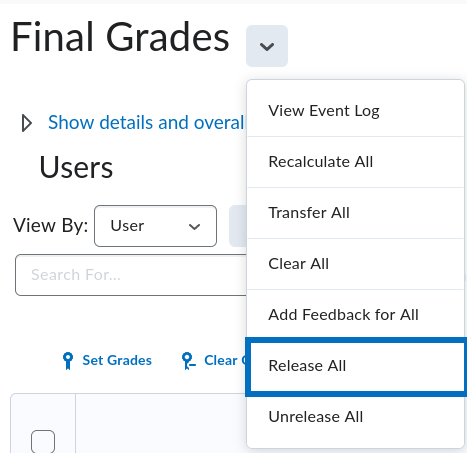
- Click Yes at the prompt.
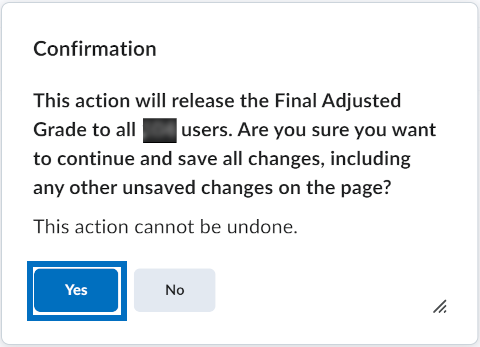
- Click Save and Close at the end of the page.

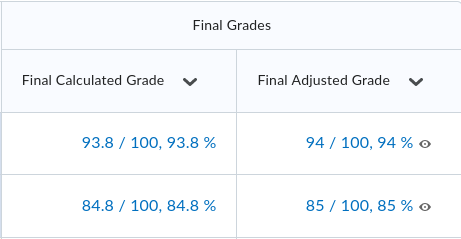
- The adjusted values and the eye symbol/icon should now be visible on the Enter Grades page.